






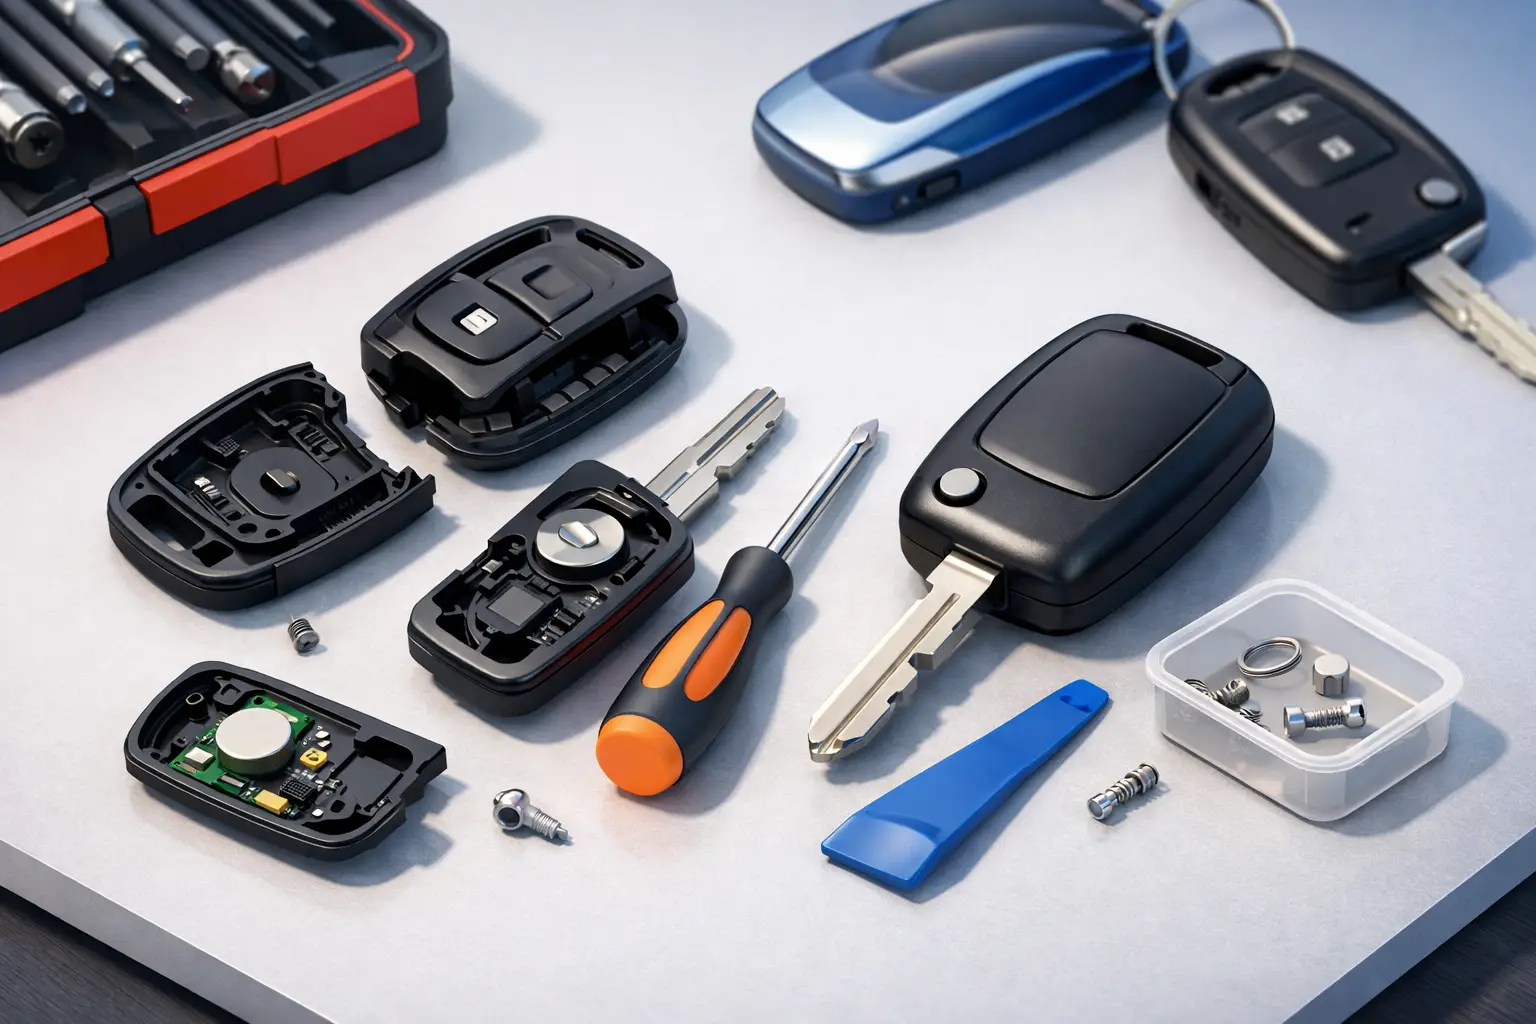
A cracked fob case can turn into a much bigger problem at the worst possible time. You may still be able to start the car today, but loose buttons, an exposed circuit board, or a slipping emergency key can leave you locked out tomorrow. The good news is that you can often replace broken car key shell parts without replacing or programming the entire key.
The key is knowing what actually failed. A shell is the outer housing that holds your buttons, battery, emergency key, and electronic components in place. If the electronics are still working, a new shell can be a fast, affordable repair. If the key has stopped communicating with the vehicle, though, the problem may be deeper than the plastic case.
When a Broken Key Shell Is the Only Problem
A shell replacement is usually the right move when the remote still locks and unlocks the doors, the vehicle starts normally, and the buttons respond when pressed. Common signs include a cracked seam around the fob, missing button covers, a broken key-ring loop, a loose emergency key, or a case that pops open when you pick it up.
Those failures are especially common with keys that spend years in a pocket, purse, work bag, or crowded key ring. Heat, drops, moisture, and daily pressure slowly weaken the plastic. The internal electronics may be completely fine, even when the outside of the fob looks beyond saving.
Replacing the shell preserves the original chip and circuit board that your vehicle already recognizes. That is why a shell repair generally does not require programming. You are moving the working components into a new housing, not creating a new electronic key.
Before You Replace a Broken Car Key Shell
Start by identifying your exact vehicle and key style. Check the make, model, model year, button layout, and whether your key includes a removable mechanical emergency key. Two fobs can look nearly identical yet have different circuit-board shapes, button positions, battery contacts, or emergency-key tracks.
For Toyota and Lexus owners, this detail matters. Smart key designs vary across model years and trims, and buying a shell based only on the number of buttons can lead to a poor fit. A shell that closes unevenly can put pressure on the board, block a button, or cause the emergency key to sit loose.
Before opening your old fob, test every function. Lock and unlock the doors, open the trunk or liftgate if applicable, and confirm the vehicle starts with the key present. If you have a second working key, keep it nearby and use it as a backup while you work.
You should also inspect the shell carefully. If the circuit board is dry, clean, and secure, a case replacement is promising. If you see green corrosion, broken solder points, a damaged battery terminal, or signs that water reached the electronics, stop before transferring anything. A new shell will not repair electronic damage.
What You Need for the Transfer
Most shell replacements need only a small flat plastic pry tool, a precision screwdriver if the case uses a screw, and a clean, well-lit surface. Avoid using a large metal screwdriver to force open the old case. It is easy to crack the circuit board, damage the battery contacts, or cut yourself when old plastic breaks unexpectedly.
Place a towel or tray beneath the key while you work. Tiny springs, button pads, and mechanical-key parts can fall out when the shell separates. If your fob has a removable emergency key, take it out first and set it aside where it will not get mixed up with other keys.
A fresh battery can be worth installing during the transfer, but only if you have the correct battery type. Read the marking on the old battery and match it exactly. Installing the wrong size can prevent the shell from closing or cause poor contact with the battery terminals.
How to Move the Electronics Into the New Shell
Open the old fob gently along its factory seam. Some cases have a small release slot; others separate after the emergency key is removed. Work slowly around the edge instead of prying hard in one spot. Your goal is to release the housing, not bend the board inside it.
Once open, take a quick photo before touching the components. That simple step can save time if the rubber button pad, battery, or emergency-key mechanism has a specific orientation. Then remove the battery and lift out the circuit board by its edges. Do not press on the small components or touch the metal contacts more than necessary.
Transfer the rubber button pad and any small plastic inserts into the new shell first. Set the circuit board in the new housing exactly as it sat in the old one, then reinstall the battery with the correct positive and negative orientation. If the fob includes a transponder chip separate from the main board, transfer that chip too. Missing it can mean the remote buttons work but the vehicle will not start.
Close the new shell evenly until every edge is fully seated. Reinstall the emergency key, then test the lock, unlock, panic, trunk, and start functions before you rely on the repaired fob. If a button feels stiff or does not respond, reopen the shell and check that the rubber pad and circuit board are aligned correctly.
Do You Need to Cut or Program Anything?
Usually, no. A true shell replacement uses your original electronics, so the vehicle should continue to recognize the key. The battery does not store your key programming, and moving the board into a new housing does not erase it.
The exception is the mechanical emergency key. If your replacement shell includes a blank emergency key blade rather than a reusable blade, that blade must be cut to match your vehicle. It will not work in the door or glove box until it is cut correctly.
Programming may also be needed if the original circuit board was damaged, lost, or replaced with a new one. Modern smart keys and immobilizer keys use encrypted electronic credentials. A generic replacement fob cannot simply be moved into a shell and expected to start your car. That situation calls for an automotive locksmith with the right diagnostic and programming equipment.
When a DIY Shell Replacement Is Not the Best Choice
A shell repair is a good DIY project when the key is working and the case is the only issue. It is not the right gamble when you have only one key, the fob works intermittently, the board has water damage, or the vehicle no longer detects the key. A small mistake is more costly when that fob is your only way to drive.
Get professional help if the chip is loose or missing, the emergency key is broken inside a lock, or the buttons have stopped responding after a drop. The same applies if the case cracked because the key was run over, soaked, or severely crushed. The outer damage may be obvious, but internal damage can show up later.
For drivers who need the vehicle back on the road quickly, Smartkeys can help identify whether the fix is a shell, battery, emergency-key cut, repair, or a fully programmed replacement. That means you do not have to guess and risk turning a cosmetic repair into a no-start situation.
Protect the New Shell From Failing Again
Once the repair is done, keep the fob away from moisture and avoid hanging a heavy cluster of keys from the emergency-key ring. If you use a key cover, choose one that does not make the buttons difficult to press or trap moisture around the case. A slim protective cover and a lighter key ring can add years to the shell.
Most importantly, do not wait until the case comes apart completely. A broken car key shell is usually easy to address while the electronics still work. Repair it early, test it carefully, and keep a spare key plan in place so one damaged fob never stops your day.